
Hey, fellow bakers! Get ready to embark on a delicious journey that will fill your kitchen with mouthwatering aromas and your taste buds with pure joy.
Today, we’re diving into the world of drop biscuits – an easy, foolproof recipe that will have you savoring the perfect biscuit bite.

Let’s roll up our sleeves and create some magic in the kitchen!
The Charm of Drop Biscuits – A Baking Marvel
Before we jump into the recipe, let’s talk about why drop biscuits are the unsung heroes of the baking world.
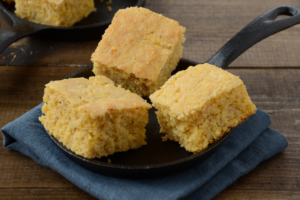
Imagine warm, flaky layers encased in a golden-brown exterior, ready to melt in your mouth.
That’s the charm of drop biscuits – simple, versatile, and oh-so-delicious.
Ingredients Unveiled – The Magic Behind the Biscuits
Now, let’s meet the cast of characters that will bring these drop biscuits to life.
1. All-Purpose Flour – The Foundation
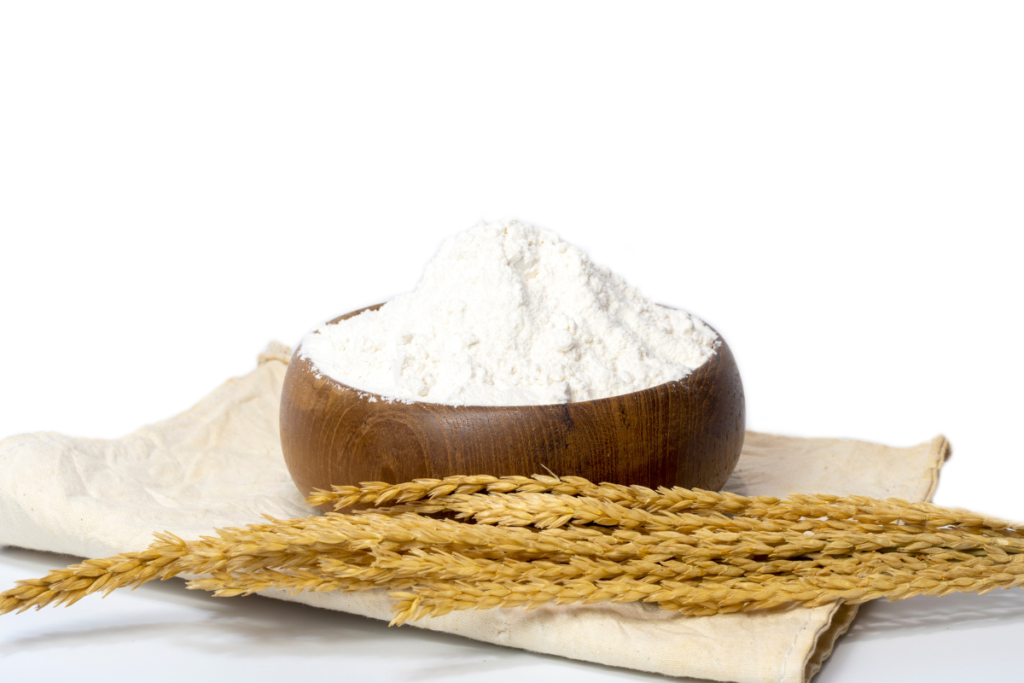
Start with two cups of all-purpose flour.
It’s the foundation of your biscuits, providing structure and that comforting bite.
Think of it as the canvas for your baking masterpiece.
2. Baking Powder – The Leavening Agent

Two teaspoons of baking powder will give your biscuits the perfect lift.
It’s like the magic wand that makes your creations rise to the occasion.
3. Salt – The Flavor Enhancer
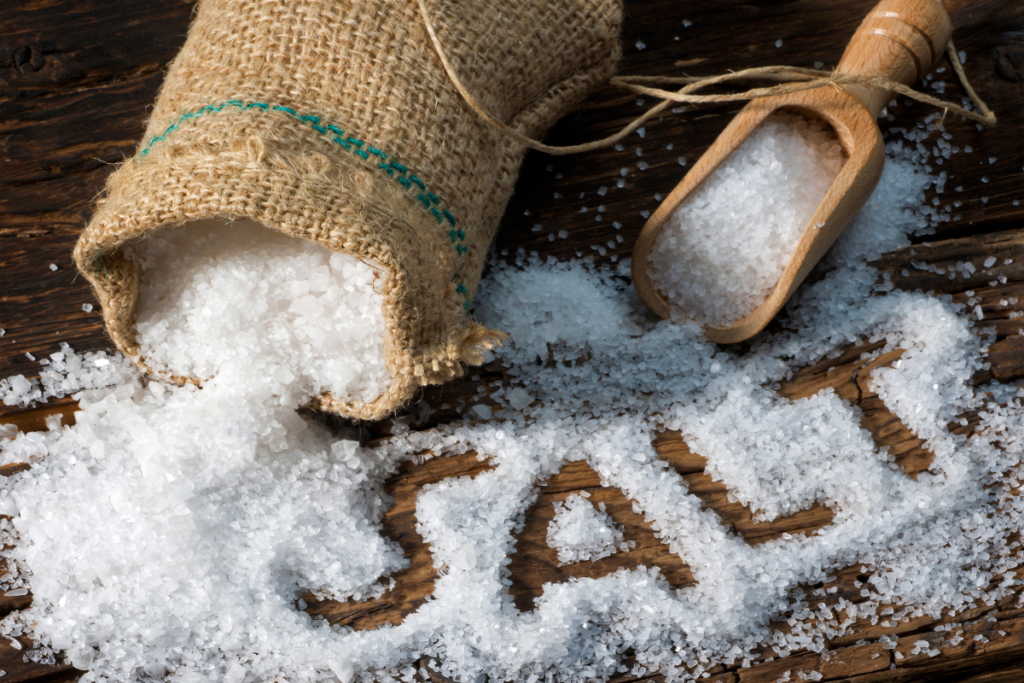
A pinch of salt is essential to enhance the flavors.
It’s like the supporting actor that brings out the best in the entire ensemble.
4. Butter – The Rich Indulgence
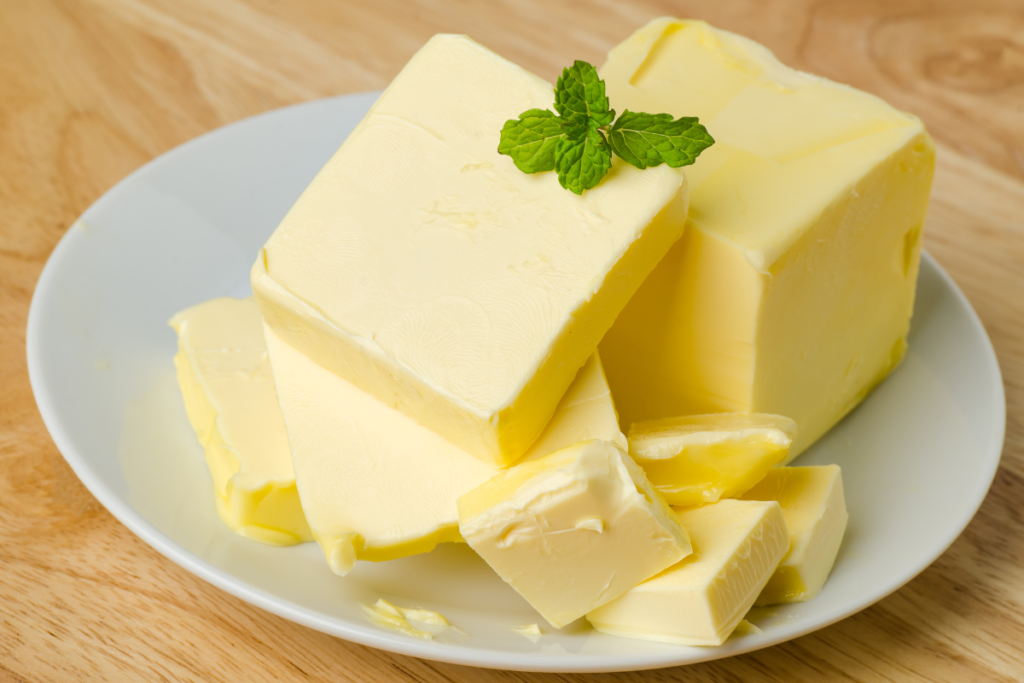
Half a cup of cold, cubed butter adds richness and a buttery flavor.
It’s like the secret ingredient that takes your biscuits from good to extraordinary.
5. Milk – The Binding Agent
One cup of cold milk binds the ingredients together, creating a tender crumb.
It’s like the glue that holds the biscuit magic in place.
Step-by-Step Biscuit Alchemy – Crafting the Perfect Drop Biscuits
Now, let’s dive into the step-by-step guide to creating these delightful drop biscuits.
1. Preheat and Prepare – Setting the Stage
Preheat your oven to 450°F (230°C) and line a baking sheet with parchment paper.
It’s like tuning your instruments before a musical performance.
2. Mix Dry Ingredients – The Flourish of Flavors
In a large bowl, whisk together the flour, baking powder, and salt.
This is where the magic begins, as you blend the elements for a symphony of flavors.
3. Cut in the Butter – Creating the Layers
Add the cold, cubed butter to the dry ingredients.
Use a pastry cutter or your fingers to cut the butter into the flour until it resembles coarse crumbs.
This step is like choreographing a dance of layers in your biscuits.
4. Add the Milk – Bringing it All Together
Pour in the cold milk and stir until just combined.
Be gentle – overmixing can lead to tough biscuits.
It’s like finding the right balance in a recipe that dances together perfectly.
5. Drop and Bake – The Grand Finale
Using a spoon or cookie scoop, drop portions of the dough onto the prepared baking sheet.
Bake for 10-12 minutes or until the biscuits are golden brown.
It’s like waiting for the curtain to rise on your biscuit masterpiece.
The Aroma of Anticipation – Baking Tips for Success
As you embark on your biscuit-making journey, consider these tips to ensure a triumphant bake.
1. Cold Ingredients Rule
Ensure your butter and milk are cold.
Cold ingredients create steam, contributing to the biscuits’ flakiness.
It’s like giving your biscuits the chill factor for baking success.
2. Don’t Overmix – Embrace the Lumps
Resist the urge to overmix the dough.
A few lumps are perfectly fine and contribute to the biscuit’s texture.
It’s like celebrating imperfections that add character to your creation.
3. Use a Hot Oven
A hot oven is key to achieving that golden-brown perfection.
It’s like creating the ideal stage for your biscuits to shine.
4. Experiment with Add-Ins
Feel free to get creative!
Add grated cheese, herbs, or even a hint of garlic for a flavor explosion.
It’s like adding your personal flair to the biscuit symphony.
Presentation Perfection – Serving Your Delightful Drop Biscuits
Once your biscuits emerge from the oven, it’s time to present them with flair.
1. Butter Bliss
Serve your drop biscuits with a generous pat of butter while they’re still warm.
It’s like the finishing touch that elevates them to heavenly status.
2. Jammin’ Good Time
Pair your biscuits with your favorite jams or preserves.
It’s like adding a sweet note to your savory creation.
Conclusion – Biscuit Bliss Achieved!
In conclusion, crafting the perfect drop biscuits is an art form that anyone can master.
With a handful of simple ingredients, a dash of creativity, and a sprinkle of baking magic, you’ll have a batch of biscuits that will steal the show at any gathering.
FAQs:
Q1: Can I use a different type of flour for these drop biscuits?
A: While all-purpose flour is ideal, you can experiment with alternatives like whole wheat flour or a 1:1 gluten-free flour blend.
Keep in mind that the texture may vary slightly.
Q2: Can I freeze the biscuit dough for later use?
A: Absolutely!
Shape the dough into portions, freeze on a baking sheet, then transfer to a freezer bag.
When ready to bake, place the frozen dough on a baking sheet and bake as directed, adding a few extra minutes.
Q3: What’s the secret to achieving a flaky texture in drop biscuits?
A: The key is using cold ingredients and handling the dough with care.
The cold butter creates pockets of steam during baking, resulting in those coveted flaky layers.
Q4: Can I substitute plant-based ingredients in this recipe?
A: Yes,
you can use plant-based butter and milk alternatives for a vegan version.
The results may vary slightly, but you’ll still achieve delicious drop biscuits.
Q5: How do I store leftover biscuits?
A: Store leftover biscuits in an airtight container at room temperature for up to two days.
To prolong freshness, you can refrigerate them and reheat in a toaster or oven.